
To install Snipping Tool in Windows 11 using PowerShell, install it from the Microsoft Store with winget. Snipping Tool’s Store ID is 9MZ95KL8MR0L:
winget install --id 9MZ95KL8MR0L --source msstoreWindows 11 already includes Snipping Tool, so check first. Below I show how to find it, re-register it when it’s broken, reset it and reinstall it, tested in PowerShell 7.6 and Windows PowerShell 5.1.
Check if Snipping Tool is installed
The modern Snipping Tool is a Store app with the package name Microsoft.ScreenSketch. Get-AppxPackage shows its version and status:
Get-AppxPackage -Name Microsoft.ScreenSketch |
    Select-Object -Property Name, Version, Status, SignatureKind |
    Format-List
Output:
Name          : Microsoft.ScreenSketch
Version       : 11.2607.23.0
Status        : Ok
SignatureKind : Store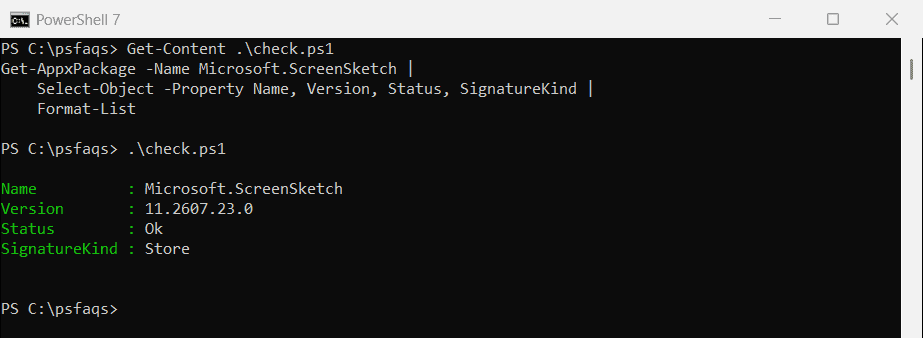
Status Ok means the app is healthy. If the command returns nothing, Snipping Tool isn’t installed for your account.
Search for ScreenSketch, not SnippingTool
Many guides search for *snippingtool*, which finds nothing because that isn’t the package name:
"Matches for *snippingtool*:  $(@(Get-AppxPackage -Name *snippingtool*).Count)"
"Matches for *ScreenSketch*: $(@(Get-AppxPackage -Name *ScreenSketch*).Count)"
Output:
Matches for *snippingtool*:  0
Matches for *ScreenSketch*: 1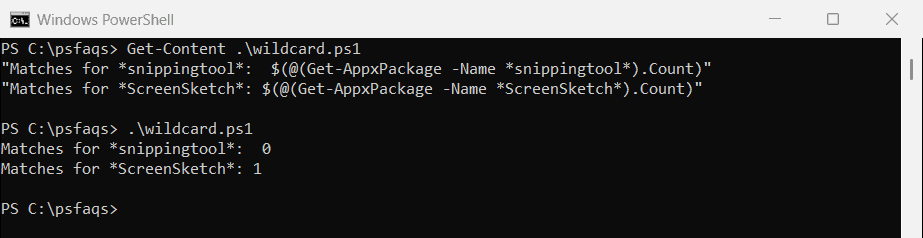
This mix-up makes people think Snipping Tool is missing when it’s actually installed.
To check other installed apps the same way, see getting a list of installed programs.
Install Snipping Tool with winget
If it’s missing, winget installs it straight from the Store. The first time you use the msstore source, winget asks you to accept the Store terms:
winget install --id 9MZ95KL8MR0L --source msstoreYou don’t need an elevated window, because Store apps install for your account. Installing winget helps if the winget command isn’t found.
Install it from the Microsoft Store app
Without winget, open the Microsoft Store, search for Snipping Tool and select Get. On PCs where the Store is blocked by policy, ask your IT team, because they control which Store apps you can install.
Re-register Snipping Tool when it won’t open
If Snipping Tool is installed but won’t start, re-register it from its own manifest. First confirm where it’s installed:
$package = Get-AppxPackage -Name Microsoft.ScreenSketch
$manifest = Join-Path -Path $package.InstallLocation -ChildPath AppxManifest.xml

"Installed in: $($package.InstallLocation)"
"Manifest found: $(Test-Path -Path $manifest)"
Get-StartApps | Where-Object Name -Like '*Snip*' | ForEach-Object { "Start menu: $($_.Name) ($($_.AppID))" }
Output:
Installed in: C:\Program Files\WindowsApps\Microsoft.ScreenSketch_11.2607.23.0_x64__8wekyb3d8bbwe
Manifest found: True
Start menu: Snipping Tool (Microsoft.ScreenSketch_8wekyb3d8bbwe!App)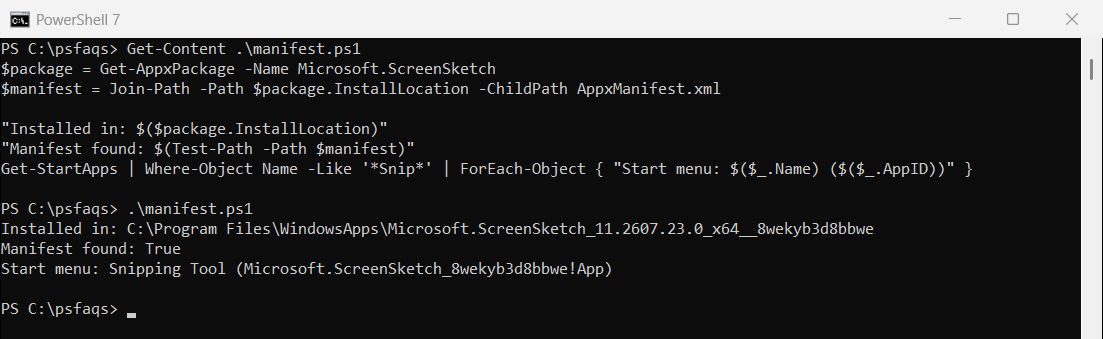
Then run Add-AppxPackage with -Register on that manifest. It repairs the registration for your account without downloading anything:
Get-AppxPackage -Name Microsoft.ScreenSketch | ForEach-Object {
    Add-AppxPackage -DisableDevelopmentMode -Register "$($_.InstallLocation)\AppxManifest.xml"
}
Don’t hard-code the version in the path, as older guides did. The version changes with every Store update.
Reset Snipping Tool
Reset-AppxPackage returns the app to its original settings, the same as Reset in Settings. Preview it with -WhatIf first:
$package = Get-AppxPackage -Name Microsoft.ScreenSketch
Reset-AppxPackage -Package $package.PackageFullName -WhatIf
Output:
What if: Performing the operation "Reset package" on target "Microsoft.ScreenSketch_11.2607.23.0_x64__8wekyb3d8bbwe".Remove -WhatIf to reset it for real.
Uninstall and reinstall Snipping Tool
As a last resort, remove the package and install it again with winget:
Get-AppxPackage -Name Microsoft.ScreenSketch | Remove-AppxPackage
winget install --id 9MZ95KL8MR0L --source msstore
Microsoft’s Get-AppxPackage and Add-AppxPackage references cover the other options. Uninstalling programs with PowerShell covers desktop apps.
Open Snipping Tool quickly
Press Windows logo key + Shift + S to start a snip right away. To open the full app from PowerShell, run this:
Start-Process -FilePath explorer.exe -ArgumentList 'shell:AppsFolder\Microsoft.ScreenSketch_8wekyb3d8bbwe!App'Frequently Asked Questions
How do I install Snipping Tool with PowerShell?
Run winget install --id 9MZ95KL8MR0L --source msstore. It installs Snipping Tool from the Microsoft Store.